How to Adjust Sagging Kitchen Cabinet Hinges Using the 3 Adjustment Screws
If you have noticed that your cupboard doors are no longer sitting straight, you are likely looking for a way to fix the issue without calling a professional. Learning the process of adjusting Sagging Kitchen Cabinet Hinges Using the 3 Adjustment Screws is a straightforward DIY task that can restore order to your kitchen in just a few minutes.
Most modern cabinetry uses concealed European hinges, which are designed specifically to be tweaked and tightened over time. By understanding which screw controls which direction of movement, you can achieve a perfect, professional-looking gap around every door frame.
The Three Adjustment Screws Explained
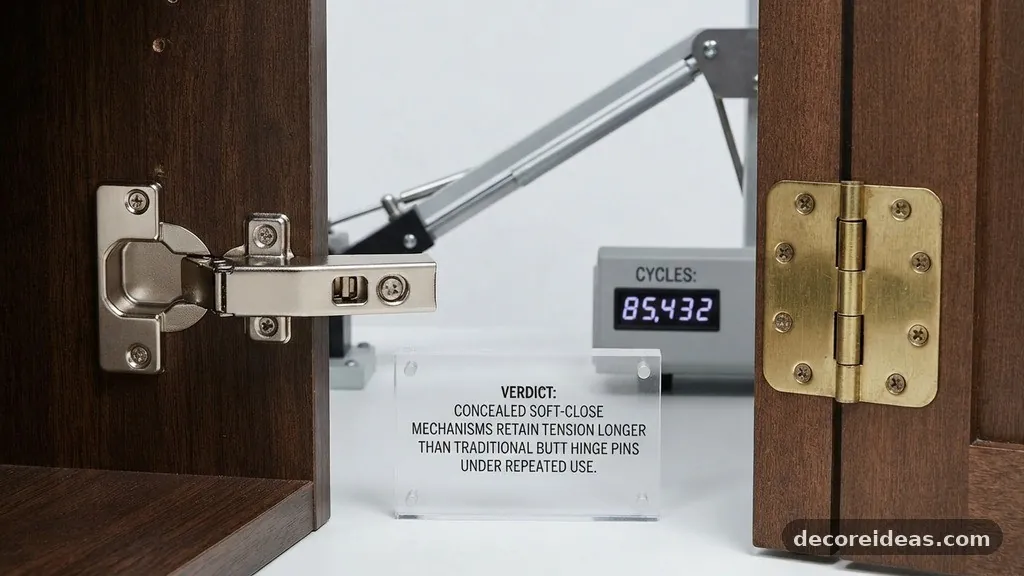
To effectively manage cabinet door alignment, you must first identify the three distinct screws found on a standard concealed European hinge. Each screw serves a unique purpose, allowing for precise control over the door’s position in three-dimensional space.
The most common screw, located closest to the hinge arm, is the lateral adjustment screw. This screw moves the door left or right, effectively closing or widening the gap between doors.
The second screw, usually situated further back on the hinge arm or behind a sliding plate, is the depth adjustment screw. Turning this screw allows the door to move inward toward the cabinet box or outward away from it. This is essential for ensuring the door sits flush with the frame.
The third set of screws, found on the hinge mounting plate attached to the cabinet box, controls the vertical position. These screws allow the door to slide up or down to fix uneven heights or sagging corners.
Identifying the Lateral Adjustment Screw
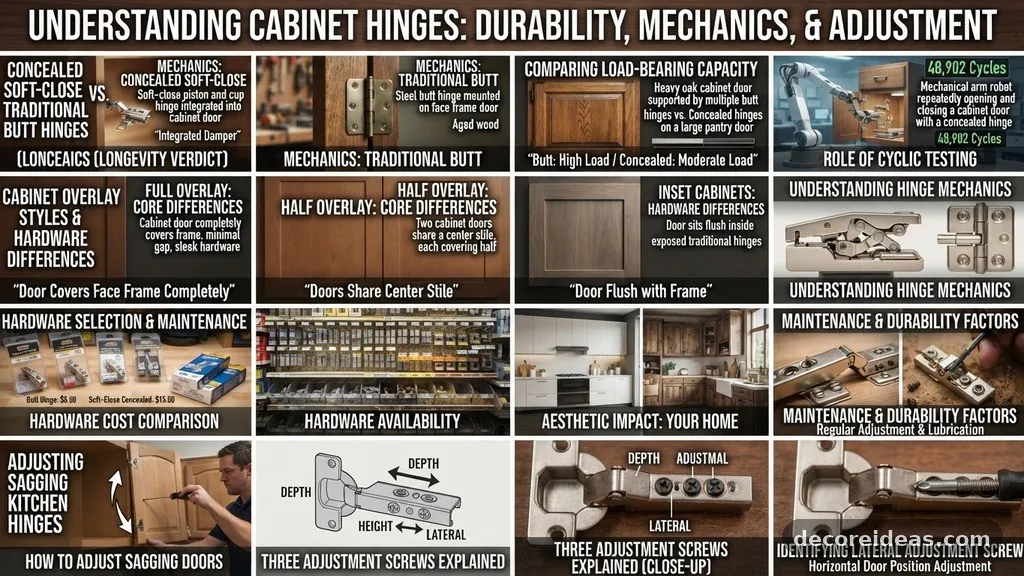
The lateral adjustment screw is almost always the one located at the front of the hinge arm, closest to the door itself. When you turn this screw clockwise, the hinge arm moves the door toward the center of the cabinet opening.
Turning it counter-clockwise moves the door away from the center, effectively closing the gap between two side-by-side doors. This is the adjustment you will use most often to fix a door that is rubbing against its neighbor.
It is important to make small, incremental turns when adjusting this screw, as even a quarter-turn can significantly shift the door’s position. Always observe the cabinet door reveal after every turn to ensure you are not moving the door too far in one direction. If you find the door is still hitting the frame even after maximum adjustment, the issue might be a loose hinge mounting plate rather than a simple alignment problem.
Using the Depth Adjustment Screw
The depth adjustment screw is designed to change the distance between the back of the door and the front edge of the cabinet box. This is the primary control for achieving perfect door flushness.
If your door protrudes slightly while its neighbor sits perfectly flat, this screw is your solution. On many models, this screw is located slightly behind the lateral adjustment screw on the hinge arm.
Moving the door inward is often necessary if the door is “proud” of the cabinet frame. Conversely, if the door is recessed too far, you will need to loosen the screw to allow the door to sit more forward.
Always test the movement of the door after adjusting the depth to ensure the hinge arm does not bind. If the door has a soft-close mechanism, be aware that excessive depth changes can sometimes interfere with the tension of the damper.
Mastering Vertical Adjustment
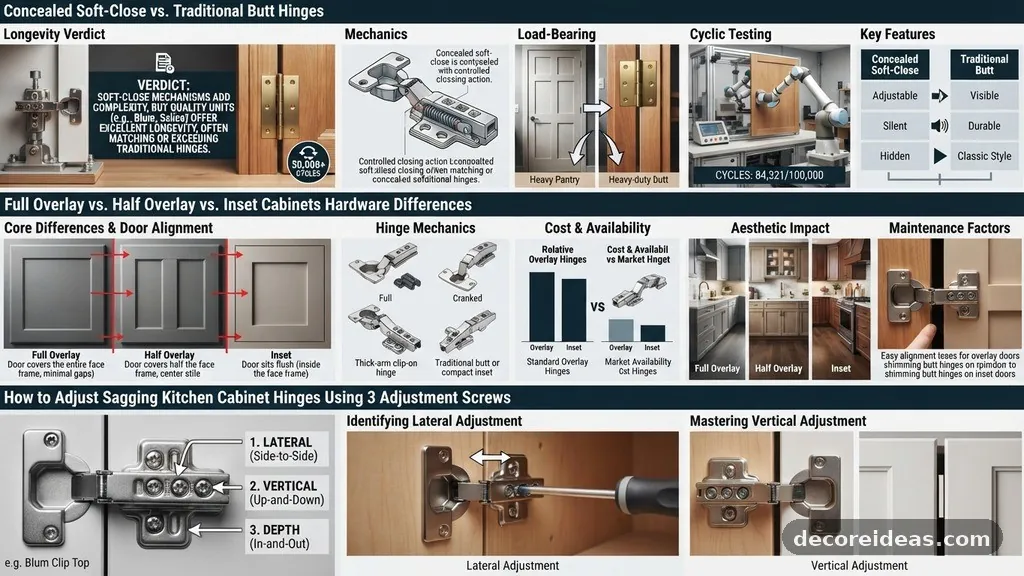
Vertical adjustment is the most common fix for a drooping or sagging cabinet door. Unlike the other two adjustments, this is usually handled by the hinge plate screws that attach the hinge to the inside wall of the cabinet.
These screws are typically seated in vertical slots, allowing the entire hinge assembly to slide up or down. To make an adjustment, you must loosen the screws on both the top and bottom hinges slightly.
Once the screws are loose, manually lift or lower the door to the desired height and tighten the screws back down. It is often helpful to have a second person hold the door in the correct position while you tighten the hardware.
If the door continues to sag after you have tightened the plate, check the integrity of the pilot holes in the wood. Stripped holes in the cabinet box will prevent the plate from holding the door’s weight, requiring a wood filler or a slightly larger screw to restore a firm grip.
Tools Required for the Job
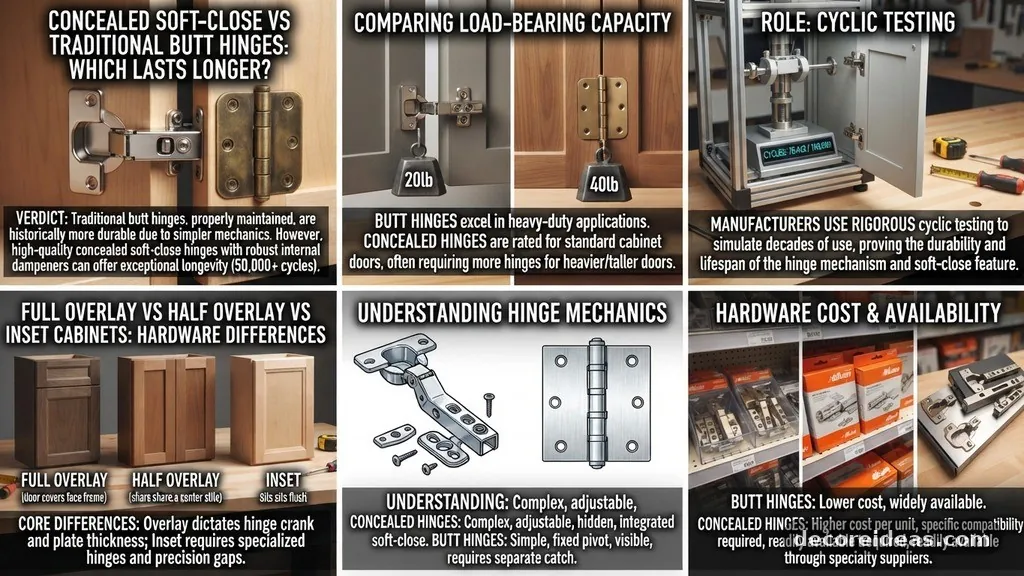
You do not need a specialized toolkit to perform these adjustments. A standard Phillips head screwdriver is the only tool necessary for the vast majority of modern cabinet hinges.
Ensure that your screwdriver tip fits the screw head snugly to avoid stripping the metal, which can make future adjustments impossible. If you are working with older hardware, a flathead screwdriver might be required, though this is increasingly rare.
For those who want to be precise, a small level can help ensure the door is truly plumb. However, most people find that visual alignment against the surrounding doors is sufficient for a kitchen environment. Always keep a magnetic screwdriver or a small flashlight on hand, as the inside of a dark cabinet can make it difficult to see the screw heads clearly.
Troubleshooting Common Alignment Problems
Sometimes, adjusting the three screws is not enough to fix a persistent issue. If the door rub persists even after you have exhausted the range of the adjustment screws, you may be dealing with a warped door or a cabinet box that is no longer square.
In these cases, check if the hinges themselves are bent or if the hinge cup in the door has pulled loose. You can read more about standard cabinet installation and maintenance to understand how structural issues might affect your hardware.
If the door seems to tilt, you may need to adjust the top and bottom hinges unevenly. For example, if the top corner of the door is hitting the frame, move the top hinge laterally to push it away.
If the door is twisted, you may need to adjust the depth on one hinge while leaving the other in its original position. Take your time, and remember that cabinet adjustment is a game of patience rather than force.
Comparison of Hinge Adjustment Functions
The following table summarizes the primary function of each screw type found on a standard concealed hinge.
| Adjustment Type | Direction of Movement | Primary Purpose |
|---|---|---|
| Lateral | Left and Right | Correcting gaps and door rub |
| Depth | Inward and Outward | Ensuring door flushness |
| Vertical | Up and Down | Fixing sagging or uneven height |
Cabinet Hardware Maintenance Tips
Preventative maintenance is the best way to keep your doors functioning smoothly. Over time, the constant weight of the door and the vibration from daily use can cause the hinge mounting screws to loosen.
Once a year, it is a good idea to check all the screws on your hinges and ensure they are tight. Do not overtighten, as this can easily strip the wood or damage the plastic inserts often found in modern pre-drilled holes.
You should also periodically clean the hinge cup and the hinge arm with a soft cloth to remove dust and grease. If your hinges have a soft-close mechanism, avoid forcing the door shut, as this can wear out the internal dampers prematurely. If you notice a clicking sound when opening or closing, a small drop of silicone-based lubricant on the pivot point can often resolve the issue.
Essential Steps for Perfect Alignment
1. Begin by inspecting the door to determine which direction it needs to move.
2. Use the vertical screws first if the door is sagging or catching on the bottom of the frame.
3.
Adjust the lateral screws to fix gaps between adjacent doors.
4. Use the depth screws to ensure the door sits perfectly flush with the cabinet face.
5. Close the door slowly to check for any binding or rubbing against the cabinet frame.
6.
Re-tighten all mounting screws if you notice the hinge base plate is wiggling.
7. Repeat the process for all doors in the set to maintain a uniform look across the kitchen.
Frequently Asked Questions
Why does my cabinet door keep sagging even after I adjust it?
If the door continues to sag, the hinge mounting plate is likely not held firmly to the cabinet box. Check if the screws are stripped in the wood. You may need to remove the screws, insert a wooden dowel with glue into the hole, and re-drill the pilot hole to provide a fresh surface for the screw to bite into.
What is the 1/3 rule for cabinet hardware?
The 1/3 rule generally refers to keeping your door reveal consistent. You should aim for a gap that is roughly 1/3 of the thickness of the door material itself. This ensures the doors can swing open without hitting each other while maintaining a clean, uniform look across the bank of cabinets.
Should I lubricate my cabinet hinges?
Yes, a tiny amount of lubricant can help. Use a dry silicone spray or a specialized Teflon lubricant rather than WD-40, which can attract dust and grime over time. Apply it only to the pivot point of the hinge arm and wipe away any excess immediately to prevent it from staining the cabinet finish.
Can I replace just one hinge on a door?
It is generally recommended to replace both hinges if one is broken. If you replace only one, the old hinge may have different tension or wear characteristics than the new one, which can make alignment extremely difficult. Buying a matched pair ensures the door swings evenly and the soft-close mechanisms work in unison.
Are all European hinges interchangeable?
While many hinges share similar dimensions, there are variations in the hinge cup diameter and the mounting plate hole pattern. Always measure your existing hinge cup size—usually 35mm—before purchasing replacements. It is safest to buy the same brand and model if possible to ensure the mounting holes align perfectly with your existing cabinet box.
Conclusion
Taking the time to master the process of adjusting Sagging Kitchen Cabinet Hinges Using the 3 Adjustment Screws is a rewarding project that significantly improves the look and feel of your kitchen. By addressing the lateral, depth, and vertical positions, you can eliminate unsightly gaps and ensure every door hangs perfectly plumb. Remember to move slowly, making small adjustments and checking the fit after each turn to avoid over-correcting.
Regular maintenance, such as tightening loose screws once a year, will keep your cabinetry operating smoothly for years to come. If you encounter persistent issues, focus on the integrity of the mounting plates before assuming the hinges are faulty. You have the tools and the knowledge to keep your home in top shape, so feel free to tackle that misaligned door today.